It's All in the Details
Page 2 of 6
- Published Fall 2005
 |
||||
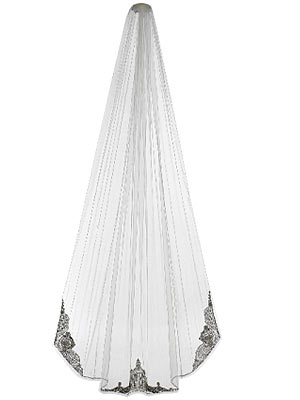
| Cathedral beaded-border veil with metallic threadwork by Kenneth Pool, $1,650 at Bergdorf Goodman. | ||||
|
|
||||
|
| ||||
From the Fall 2005 New York Wedding Guide