
It’s very likely that your fridge has never been fuller than it is right now. Sure, you’re going to the grocery store less, but you’re buying more when you would on a typical shopping trip. Most produce — vegetables, in particular — has a tendency to go bad if you don’t use it quickly. One very easy way to extend the shelf life (and allow you to go even more time between grocery runs) is with fermentation.
Fermentation involves allowing the naturally occurring bacteria on fruits and vegetables to thrive and produce lactic acid, which helps preserve them. The most common examples of this are sauerkraut and kimchi, but as Michael Perrine, founder of rejuvenation and detox clinic Vitality NYC says, almost any vegetable will do as long as it’s hardy. “Cabbage, carrots, beets, and other roots ferment really well,” he says. “I suggest using them as a base even if adding other veggies.” Perrine is one of seven experts we asked — including chefs, cookbook authors, and a professional sauerkraut-maker — for advice on everything you need to become a modern preservation-minded homesteader. Here’s how to get started fermenting at home.
Salt


The foundation of lactic fermentation is salt, which, according to Perrine, “creates an environment where lactic-acid bacteria will completely take over the medium destroying all the bacteria, molds, and yeasts.” There’s a bit of a divide on what salts to use, however: Kathryn Lukas, founder of Farmhouse Culture and co-author of The Farmhouse Culture Guide to Fermenting, which is geared toward true beginners, prefers high-quality, plain sea salt. “I like a higher sodium chloride salt, like Sonoma sea salt, because it’s really, really high in sodium chloride,” she says. “Some of these other salts, like Celtic sea salt or Himalayan sea salt, can be as low as 90% sodium chloride and the rest are minerals. Higher mineral salts can cause off-flavors.”
Perrine is in the latter camp, saying that he likes to use Celtic sea salt and Himalayan for not only the mineral flavor they lend but the health benefits of adding those minerals to a ferment. “I find a ratio of two teaspoons of salt per pound of vegetable to be perfect,” he says. Either way, look for the most natural salt you can. “Make sure that there are no additives, no anti-caking agents, no bleach, or anything like that,” says Lukas. “That’ll screw up the fermentation quickly.”
Jars

Next comes the equipment, which costs little more than a jar of premade kimchi. If you’re not quite sure you want to fully commit, David Zilber, head of fermentation at Noma in Copenhagen, says feel free to purchase a biscotti jar, which you can store in a dark cabinet during the fermentation process. “They’re much simpler to find,” he says, plus “they’re durable, they’re machine-washable, and they look as gorgeous as a fancy ceramic crock.” And if you give up on fermenting, you’ll end up with a very nice looking jar.

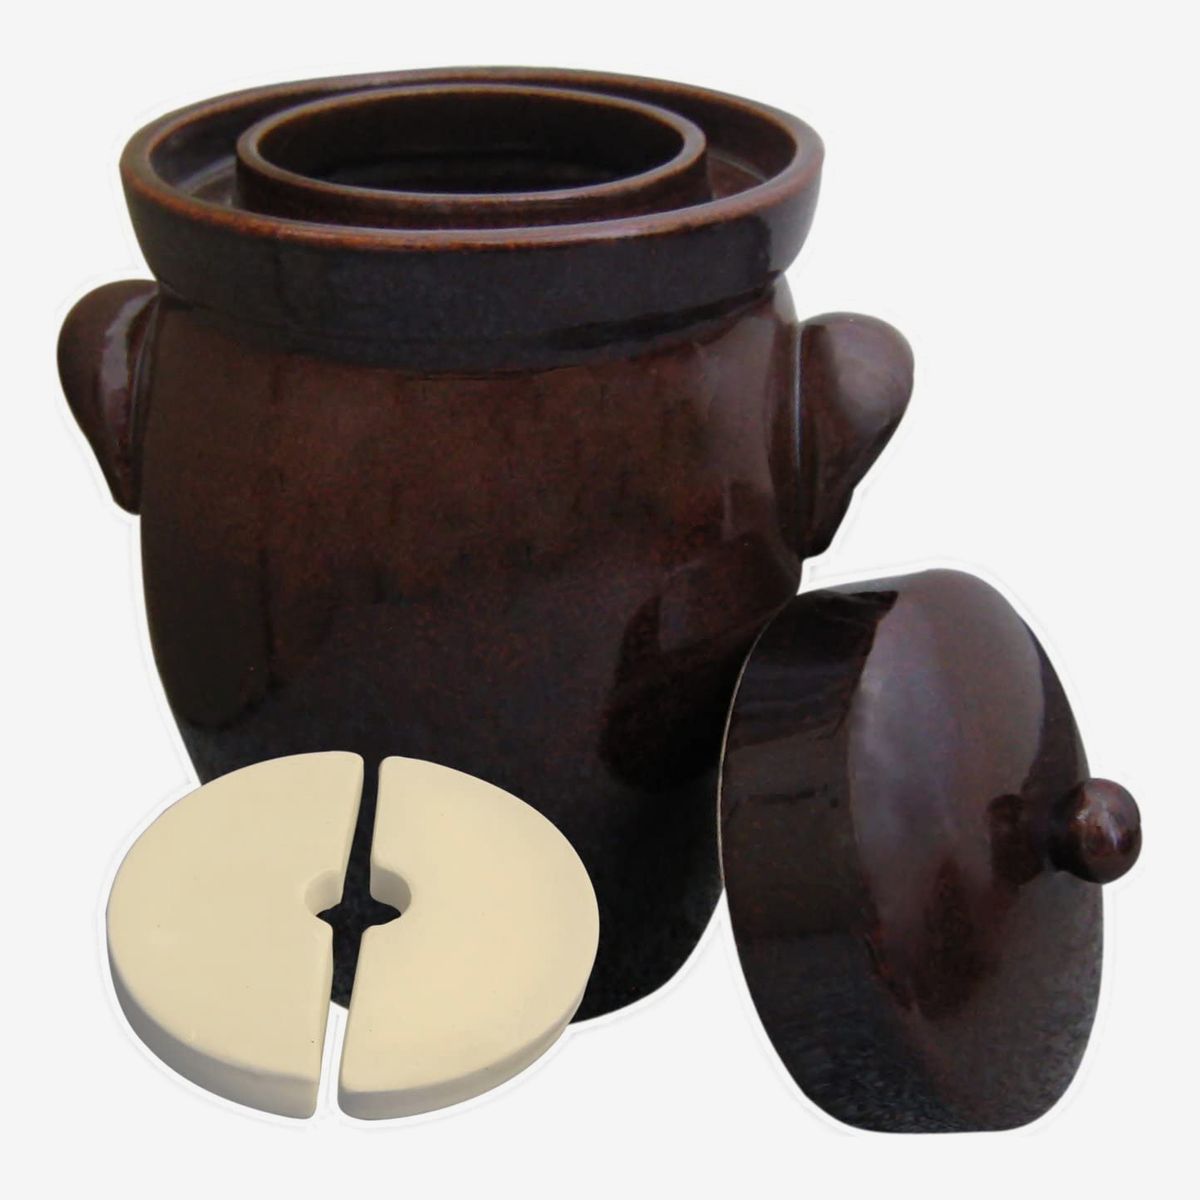
If you want to keep your ferments on your kitchen counter, though, you’ll need a crock that keeps out the sunlight. Amelie Kang, the chef and owner of Sichuan dry-pot restaurant MáLà Project in New York City, is a fan of “jellyfish” pickle jars. “After pickling, you can close the jar by putting the cap bowl upside down and then pour water into the curve, creating the perfect seal.” she says.

Chefs Dave Park of Jeong in Chicago and Kevin Fink of Austin’s Emmer & Rye, meanwhile, are evangelists of the E-Jen Kimchi container. “It’s one of my favorite containers to ferment in,” Park says. “It’s really useful, because it has an insert that essentially creates a vacuum to press down your ferments. It has an inner ring where you can either burp your ferments or keep it airtight. It’s definitely one of the most useful containers I’ve found.”
They’re also perfect for when you want to start fermenting dairy. “These crocks are great for producing cultured butter or yogurts and other items that have a higher probability of rancidity,” says Fink. “The lack of light penetration makes checking them more necessary, but the end product is more stable.”


Or you can just click one link and be done. “I like to refer people to culturesforhealth.com to order one of their kits,” says Perrine of Vitality NYC. “They also have gallons and lids for 16-ounce ball jars because I always say you may as well go big so you can do it less often. Cultures for Health makes it easy enough though to get everything at once.”
Handbooks


Fermenting can be as simple as salt, cabbage, and a jar you can burp or as complicated as a multi-ingredient kimchi. If you’re not quite sure where to begin, though, there’s plenty of literature out there to get you inspired. Park of Jeong turns to two books.
“I really like these books because of the detailed information they provide,” Park says. “The Art of Fermentation contains a lot of general knowledge of all the different fermented products of the world in a very relaxed manner and helps you understand how you might be able to start making all of your fermented projects. The Noma Guide to Fermentation digs deeper into the science and details of some major ferments, such as shoyu, vinegars, and miso. It is more technical and precise, with things like temperature control, humidity levels, and bacteria.”

And if you really want to get outdoorsy, Sandor Ellix Katz, the aforementioned author of The Art of Fermentation, heartily endorses Wildcrafted Fermentation by wild-food researcher Pascal Baudar, which was published in March. “Pascal is a culinary visionary, experimenting with what he finds outside his home and in nearby forests and using it for its flavors and as fermentation starters,” Katz says. “He’s taking fundamental fermentation processes and applying them in innovative and exciting ways.”
Tools
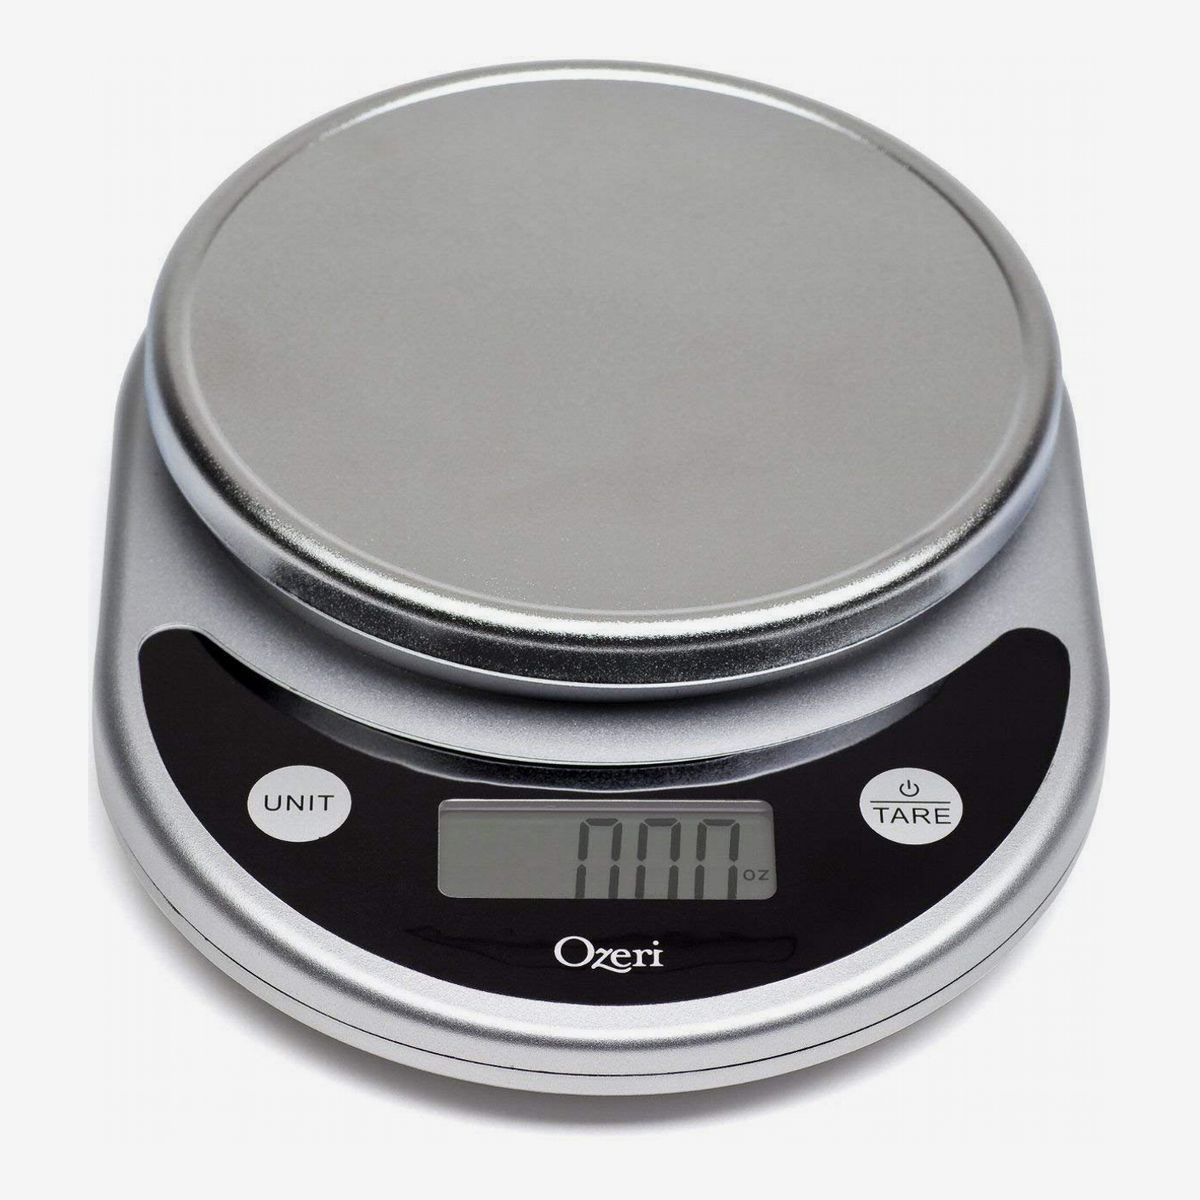


Once you have all your fermenting equipment, it’s time to get started. Sauerkraut maker Kathryn Lukas says you need just three key tools: A small scale to weigh your vegetables, which determines how much salt you’ll use. (“You can get one for $20,” Lukas says.); a large stainless steel or ceramic bowl; and a canning funnel, which helps prevent overfilling your fermentation vessel. “And then a knife and a cutting board for cutting the vegetables into smaller pieces,” Lukas adds.

If you’re using a jar or other large container, you’ll need to make sure the fermenting produce is kept away from open air, which can carry yeast, mold, and other bacteria that you don’t want in your ferment. The solution: Glass or ceramic weights. “Their purpose is to keep all the food you’re trying to ferment beneath the water line,” Zilber of Noma told the Strategist back in 2018. “If they’re not packed down nicely in the jar, there’ll be lots of air. A good weight that’s heavy enough and fits the jar nicely without getting stuck on the sides is very important.”

And then it’s just a matter of waiting. “I find most ferments to be finished in 10 to 14 days,” says Perrine. “The temperature is the determining factor. If it’s very warm, fermentation will happen faster, while cold temperatures slow it down.” Just keep in mind that the longer you let the ferment go, the funkier it will get. “The real fermentation connoisseurs say the best flavor is achieved at cooler temperatures for long periods, as long as 20 to 30 days,” he continues. “This allows different types of bacteria to take over, creating a more pleasing flavor. All that’s to say, label and date your ferments. I always forget when I made it and have to check my Instagram Story archive to figure it out.”
The Strategist is designed to surface the most useful, expert recommendations for things to buy across the vast e-commerce landscape. Some of our latest conquests include the best acne treatments, rolling luggage, pillows for side sleepers, natural anxiety remedies, and bath towels. We update links when possible, but note that deals can expire and all prices are subject to change.


